When you walk through the front door, the entry table is typically the first thing to greet you. I had my current one for a while now and it didn’t seem to fit my style anymore. While searching for a new one online, I stumbled across the coolest antique table (pictured below) from Wisteria.com, but unfortunately the website had closed down. Que my thought: I can definitely build that! I thought it looked like a pretty simple build but the challenge was to make something new appear old. This project was so fun to make so below I have all of the materials and supplies you’ll need to build it yourself!

My two amazing aunts had a lot of reclaimed wood from a massive event project they are working on and graciously gifted me the prettiest reclaimed piece to use for the top of my console! I think it used to be an old floor of some sort. It is almost 2″ thick. It had all of the weathered, chipped paint goodness to it and was exactly what I was looking for. To match the legs to something this “antique” was going to be the hard part.


Making the Legs
The legs in my inspiration photo appeared to be made from 2×2’s. I grabbed a few of those at my local hardware store. I needed the base to have an “angled ladder” look. To achieve that, I cut a 10 degree miter off of the top and bottom of all four legs.


To match the legs to the top, they needed to the furthest thing from “new”. I started by roughing up all of the squared edges using the blade of my jigsaw, my hammer, drywall saw, and orbital sander. Once the edges looked a little worn, I added some character by making some imprints of nails and screws with my hammer.
Adding Character


There is no right or wrong way to add character to new wood. For me, it was about trial and error. I would screw some screws into the wood and hit them a hammer, scrape nails across the surfaces, chisel out gashes in the wood, and using the best tool that brought it to life was my wire brush (with my drill). The wire brush adds these super fine lines that look like they formed from years of weathering! This was the exact look I was hoping for and was sooo happy with how “not new” they turned out!


I then attached two 1×2’s at different lengths. You can place them at any height you’d like!. I wanted mine pushed al little towards the bottom. I attached them with wood glue and brad nails, and then screwed them in with 2″ wood screws from the bottom of the table top.
Matching The Color & Tone


Matching the color and tone was a whole other situation. After many attempts to stain the legs to the top for a match, I finally found the solution. I used the Behr brand Wax Decorative Finish in the color Dark Antique (No. 7160). I generously used this on all four legs and made sure to work itnto the cracks and grooveds. After it dried for a bit, I went over the legs and “sanded” with my wire brush. It really pushed it into the grooves and removed the wax from the surface… leaving it only in the cracks. It really made all of those extra “character” steps worth it!
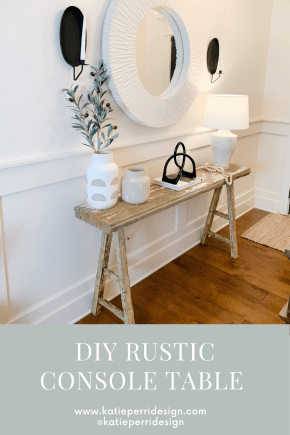
I love that this build has almost a lot of similarities to the original console I fell in love with but also that it’s different and unique! It works out perfectly in my entry and I can definitely say I am way happier with this table. My favorite way to add warmth to console tables are lamps, vases + greenery, and vases!


I hope you like my easy console build! tag me @katieperridesign if you build one yourself!


Leave a Reply